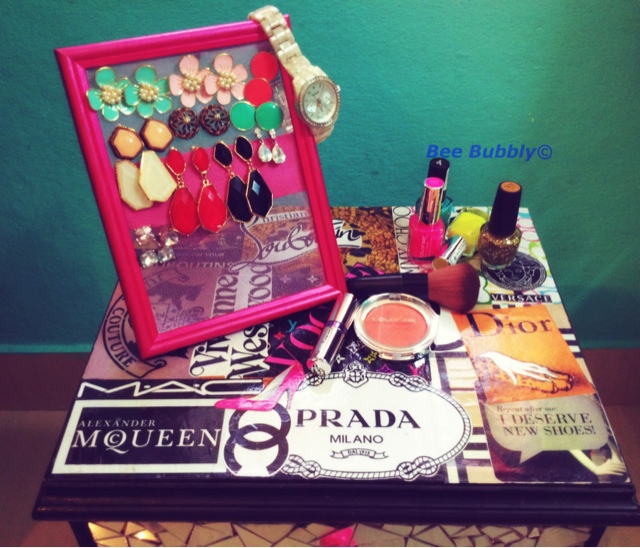
DIY - Picture Frame Stud-Earring Holder!
Yaaayyy!!
Okay, so I know it's just a DIY and I do them often...nothing big about DIYs but there's something you should know about why I do these. Yes, I like to make things look pretty and organized. However, besides that, it's my stress buster..mostly when I can't go get some "retail therapy" (read Shopping) done. haha!!
So you might just see a few DIYs coming up soon since my exams start next month! :P
Annnyyywayyyy...moving on! I've wanted to do this one for a while now and finally had all the stuff I needed to make it! yay! Don't get me wrong, I'm not the in-your-face-display-everything kinda girl...okay maybe just a little. But I'm more the "out of sight. Out of mind" kinda girl. So it's a great way to know what you have so you don't end up buying the same thing again. (been there, done that!)
Here's what you'll need
1) A photo frame (with a stand to make it sit upright)
(size- depending on choice/how many stud-earrings you have)
2) Some sheer fabric, not too stretchy. I chose net.
3) Hot Glue gun
4) A pair of scissors
-Optional:
4) paint and brushes of choice
5) embellishments
Step 1:
Pull the picture frame apart so that you're left with just the frame.
Mine was an ugly gold shiny one so i painted it metallic pink on the front side and back for a neat finish.
Step 2:
Keeping the glass from the frame over the fabric0net of choice cut an inch around the glass.
Step 3:
Turn the frame over (front/face facing downward) and stick the net on the back so there are no creases, with a hot glue gun or industrial strength glue. I think Hot glue gun works best. Once it dries, cut of the excess sticking out around the sides with scissors.
Step 4:
Cut out the strip where the stand is attached to the back of the frame. I painted mine on both sides to give it a nice smooth finish. Place the strip in place so that when the stand it opened, it sits evenly on a platform and then once you have that, glue it in place.
Step 5: Optional
Embellish it and you're done!
Pictures to follow:


Comments
Post a Comment